Help · Getting started
Getting started with Pasal
From an empty page to a live shop taking orders, and what your free trial includes.
Pasal puts your shop online behind one link: customers browse your catalog and order from their phone, and you fulfil everything from a live order board. No app for you or your customers. Here is the whole setup, from an empty page to a shop taking orders.
Open the shop
- Go to pasal.studio/create. Type your shop name, and Pasal suggests your link from it. Sunrise Bakery becomes sunrise-bakery.pasal.studio. The line under the box says Available or Taken, try another as you type, so you know before you commit.
- Say what you sell. Cafe, restaurant, bakery, grocery, clothing, salon, jewelry, electronics, garage, events, handicraft, furniture, or something else. This is not cosmetic: a kirana opens with khata and selling by weight already on, a clothing shop with returns, a cafe with a sold-out toggle. You can change any of it later under Shop profile, What this shop does: every switch, and the shop type itself, which sits at the top of that pane with a Change button. Changing the type moves only the defaults; switches you set yourself stay as you set them.
- Confirm your email. Enter your address and press Email me a code. A six digit code arrives; type it in and the shop publishes. There is no password to invent, and no card.
That is the whole of it. There is no draft and no separate publish button: the moment the code checks out your shop is live at its address and you land on your dashboard. An account holds one shop, so signing up again with the same email reopens the shop you already have.
Your first 30 days are Pro
Every new shop opens on Pro, free, for 30 days. Nothing to switch on and no card to enter. That means the counter, khata, tickets, bookings, loyalty, promo codes, the TV board and the job book are all open to you from the first day, so you can find out which of them your shop actually uses before you decide anything. See What Pro costs and how to turn it on, and What happens when your free trial ends so day 91 is not a surprise.
Then fill it in
- Set your shop details. Address, opening hours and WhatsApp number under Shop profile, Shop details. Your PAN or VAT details for receipts under Shop profile, Receipts and tax.
- Build your catalog. Add products with a price, category and photo. See Manage your catalog.
- Make it look like yours. Pick a template, set your colours, and write the words on the page.
- Share your link. Copy your shop address or download a QR code for Instagram, WhatsApp, or the counter. See Share your shop link.
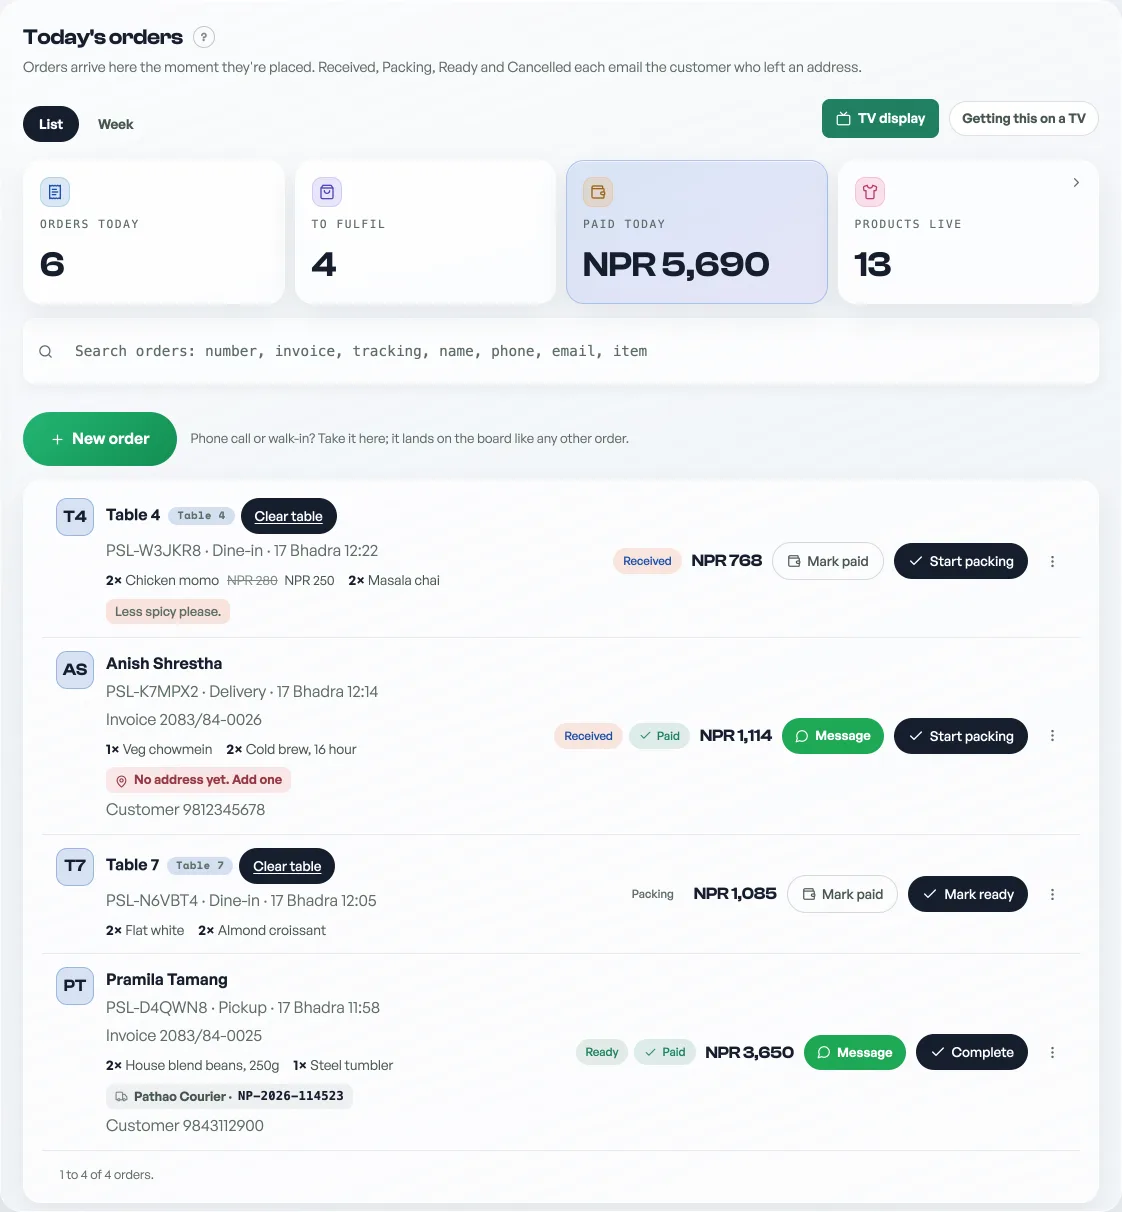
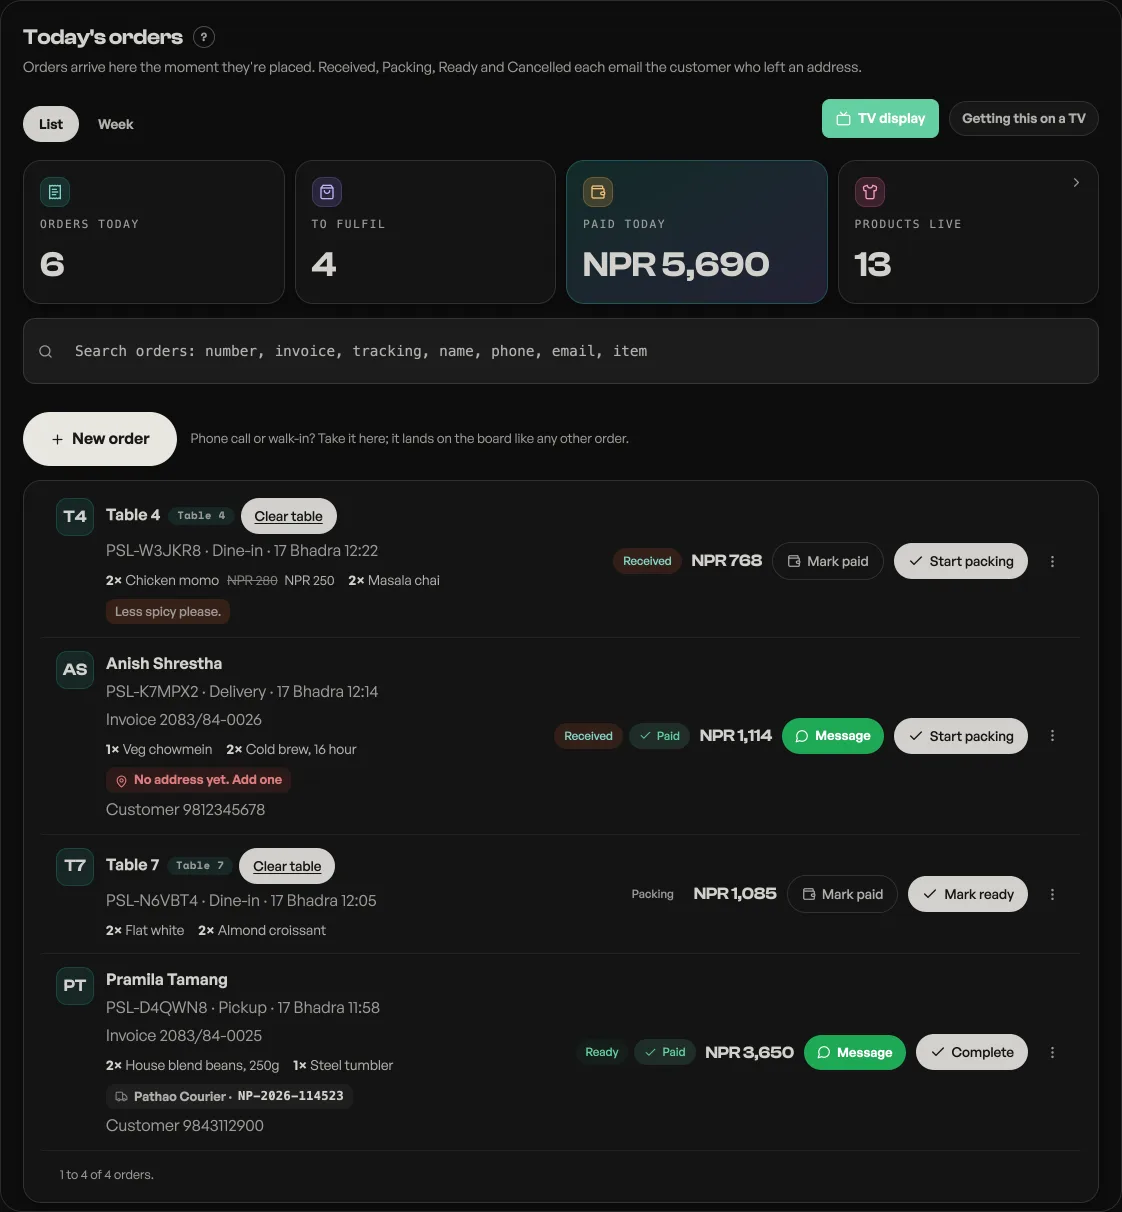
- Take your first order. A customer opens your link and checks out. The order lands on your board instantly.
Your Home tab keeps a short Set up your shop list at the top until you have worked through it, so you do not have to hold this list in your head. Hide it whenever you like. It is always waiting at the top of Help if you want it back. Want to see the whole flow before you touch your own shop? Open the live demo and order from it.
- What happens when your free trial endsWhich tools go quiet, what deliberately keeps working, and why nothing you have built is ever locked away.
- Turn shop features on and offYour shop type switches on the parts that suit it. Shop profile, What this shop does is where you change your mind.
- Manage your catalogAdd products, photos, prices, and take items off the shelf when you are out of stock.